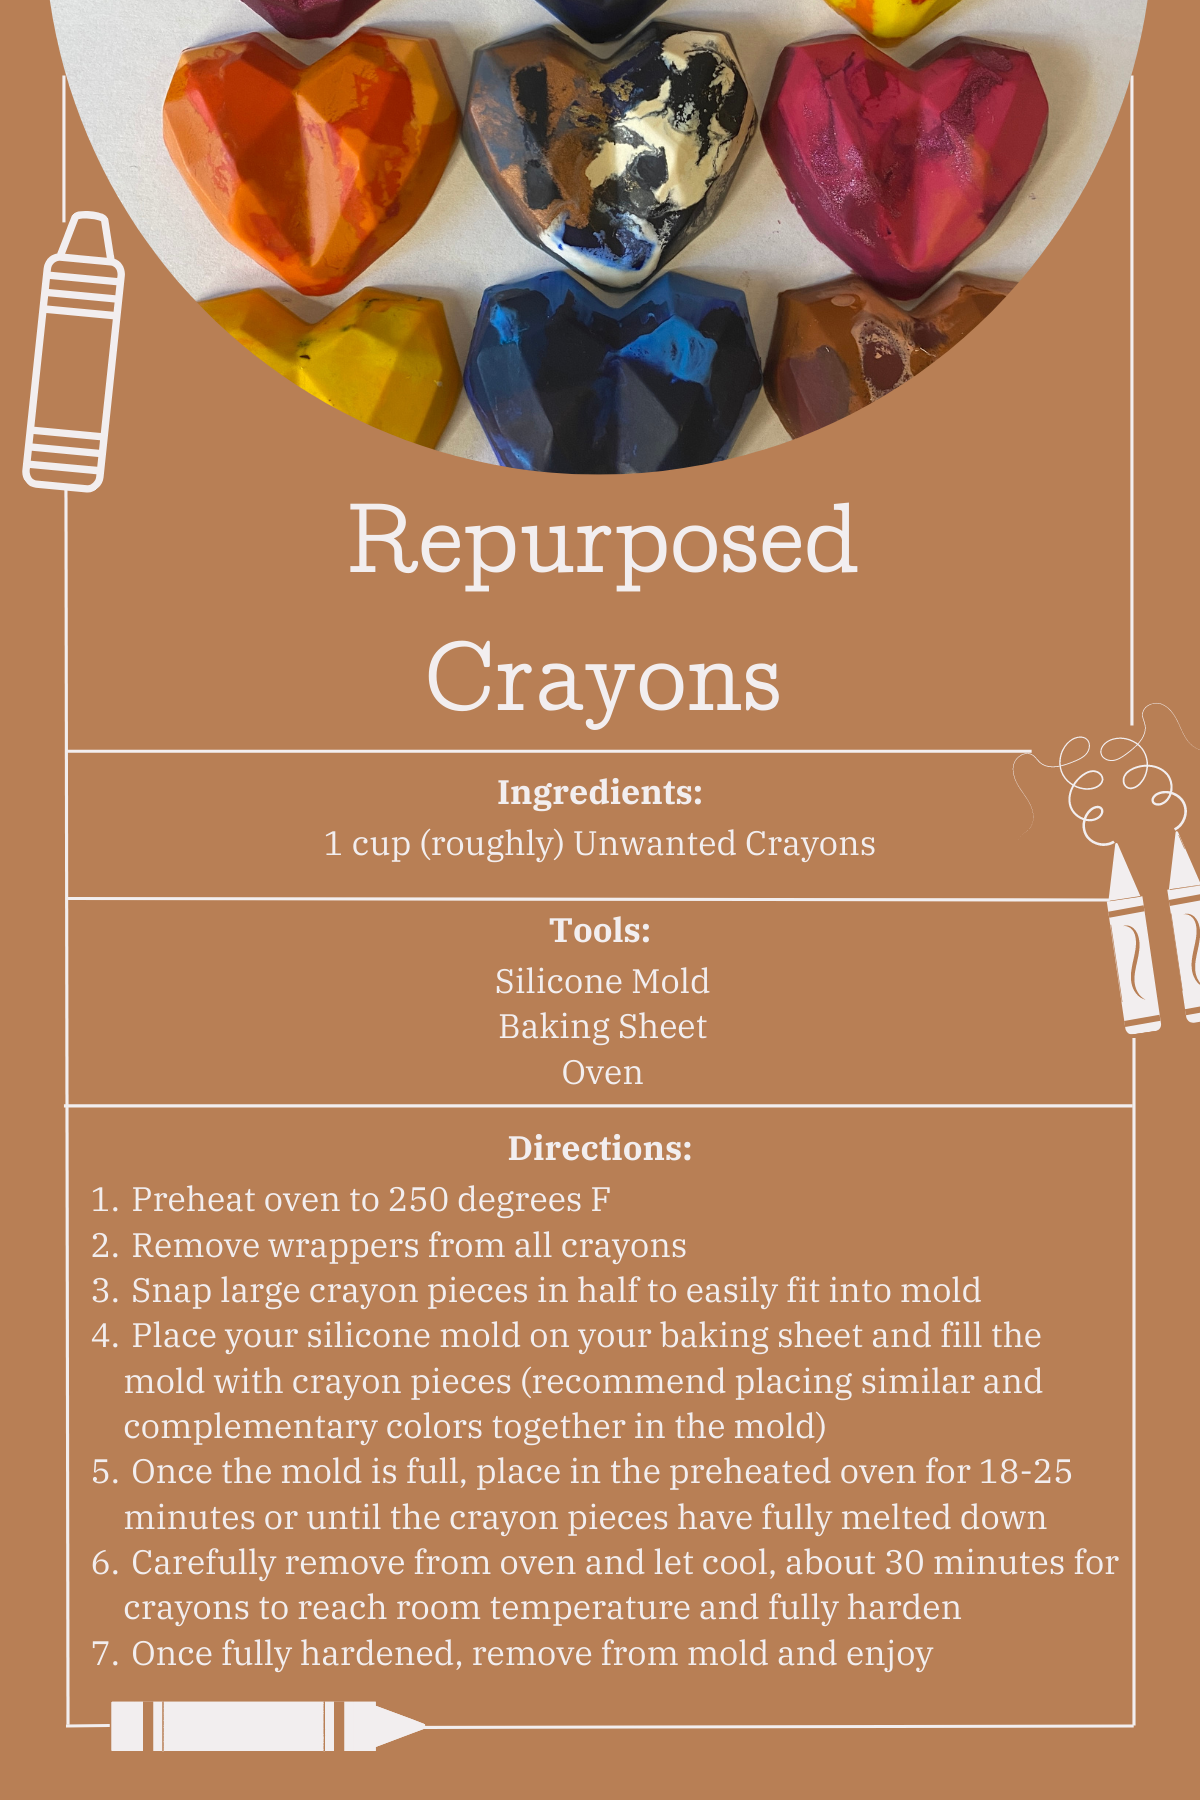
How To Repurpose Old Crayons: Quick Easy Recipe For Making New Crayons

Please Note: This post may contain affiliate links, which means Copper Rabbit Crafts may receive compensation for purchases made through these links at no extra cost to you. As an Amazon Associate I earn from qualifying purchases.
Crayons break, get old, and there always tends to be a pile of unwanted crayons at the bottom of any container holding them. So what do you do with all those crayon bits?
An easy and sustainable way to handle broken and unwanted crayons is to repurpose them! Upcycling them into brand new crayons is actually a lot easier than you might expect and a great project to do with children. Plus you will only need a few items to get started.
If you are making this recipe with kids, be sure to monitor the whole process as an oven and hot liquid are involved. Never leave children unattended while making this recipe.
Quick and Easy Crayon Making Recipe Step by Step Guide
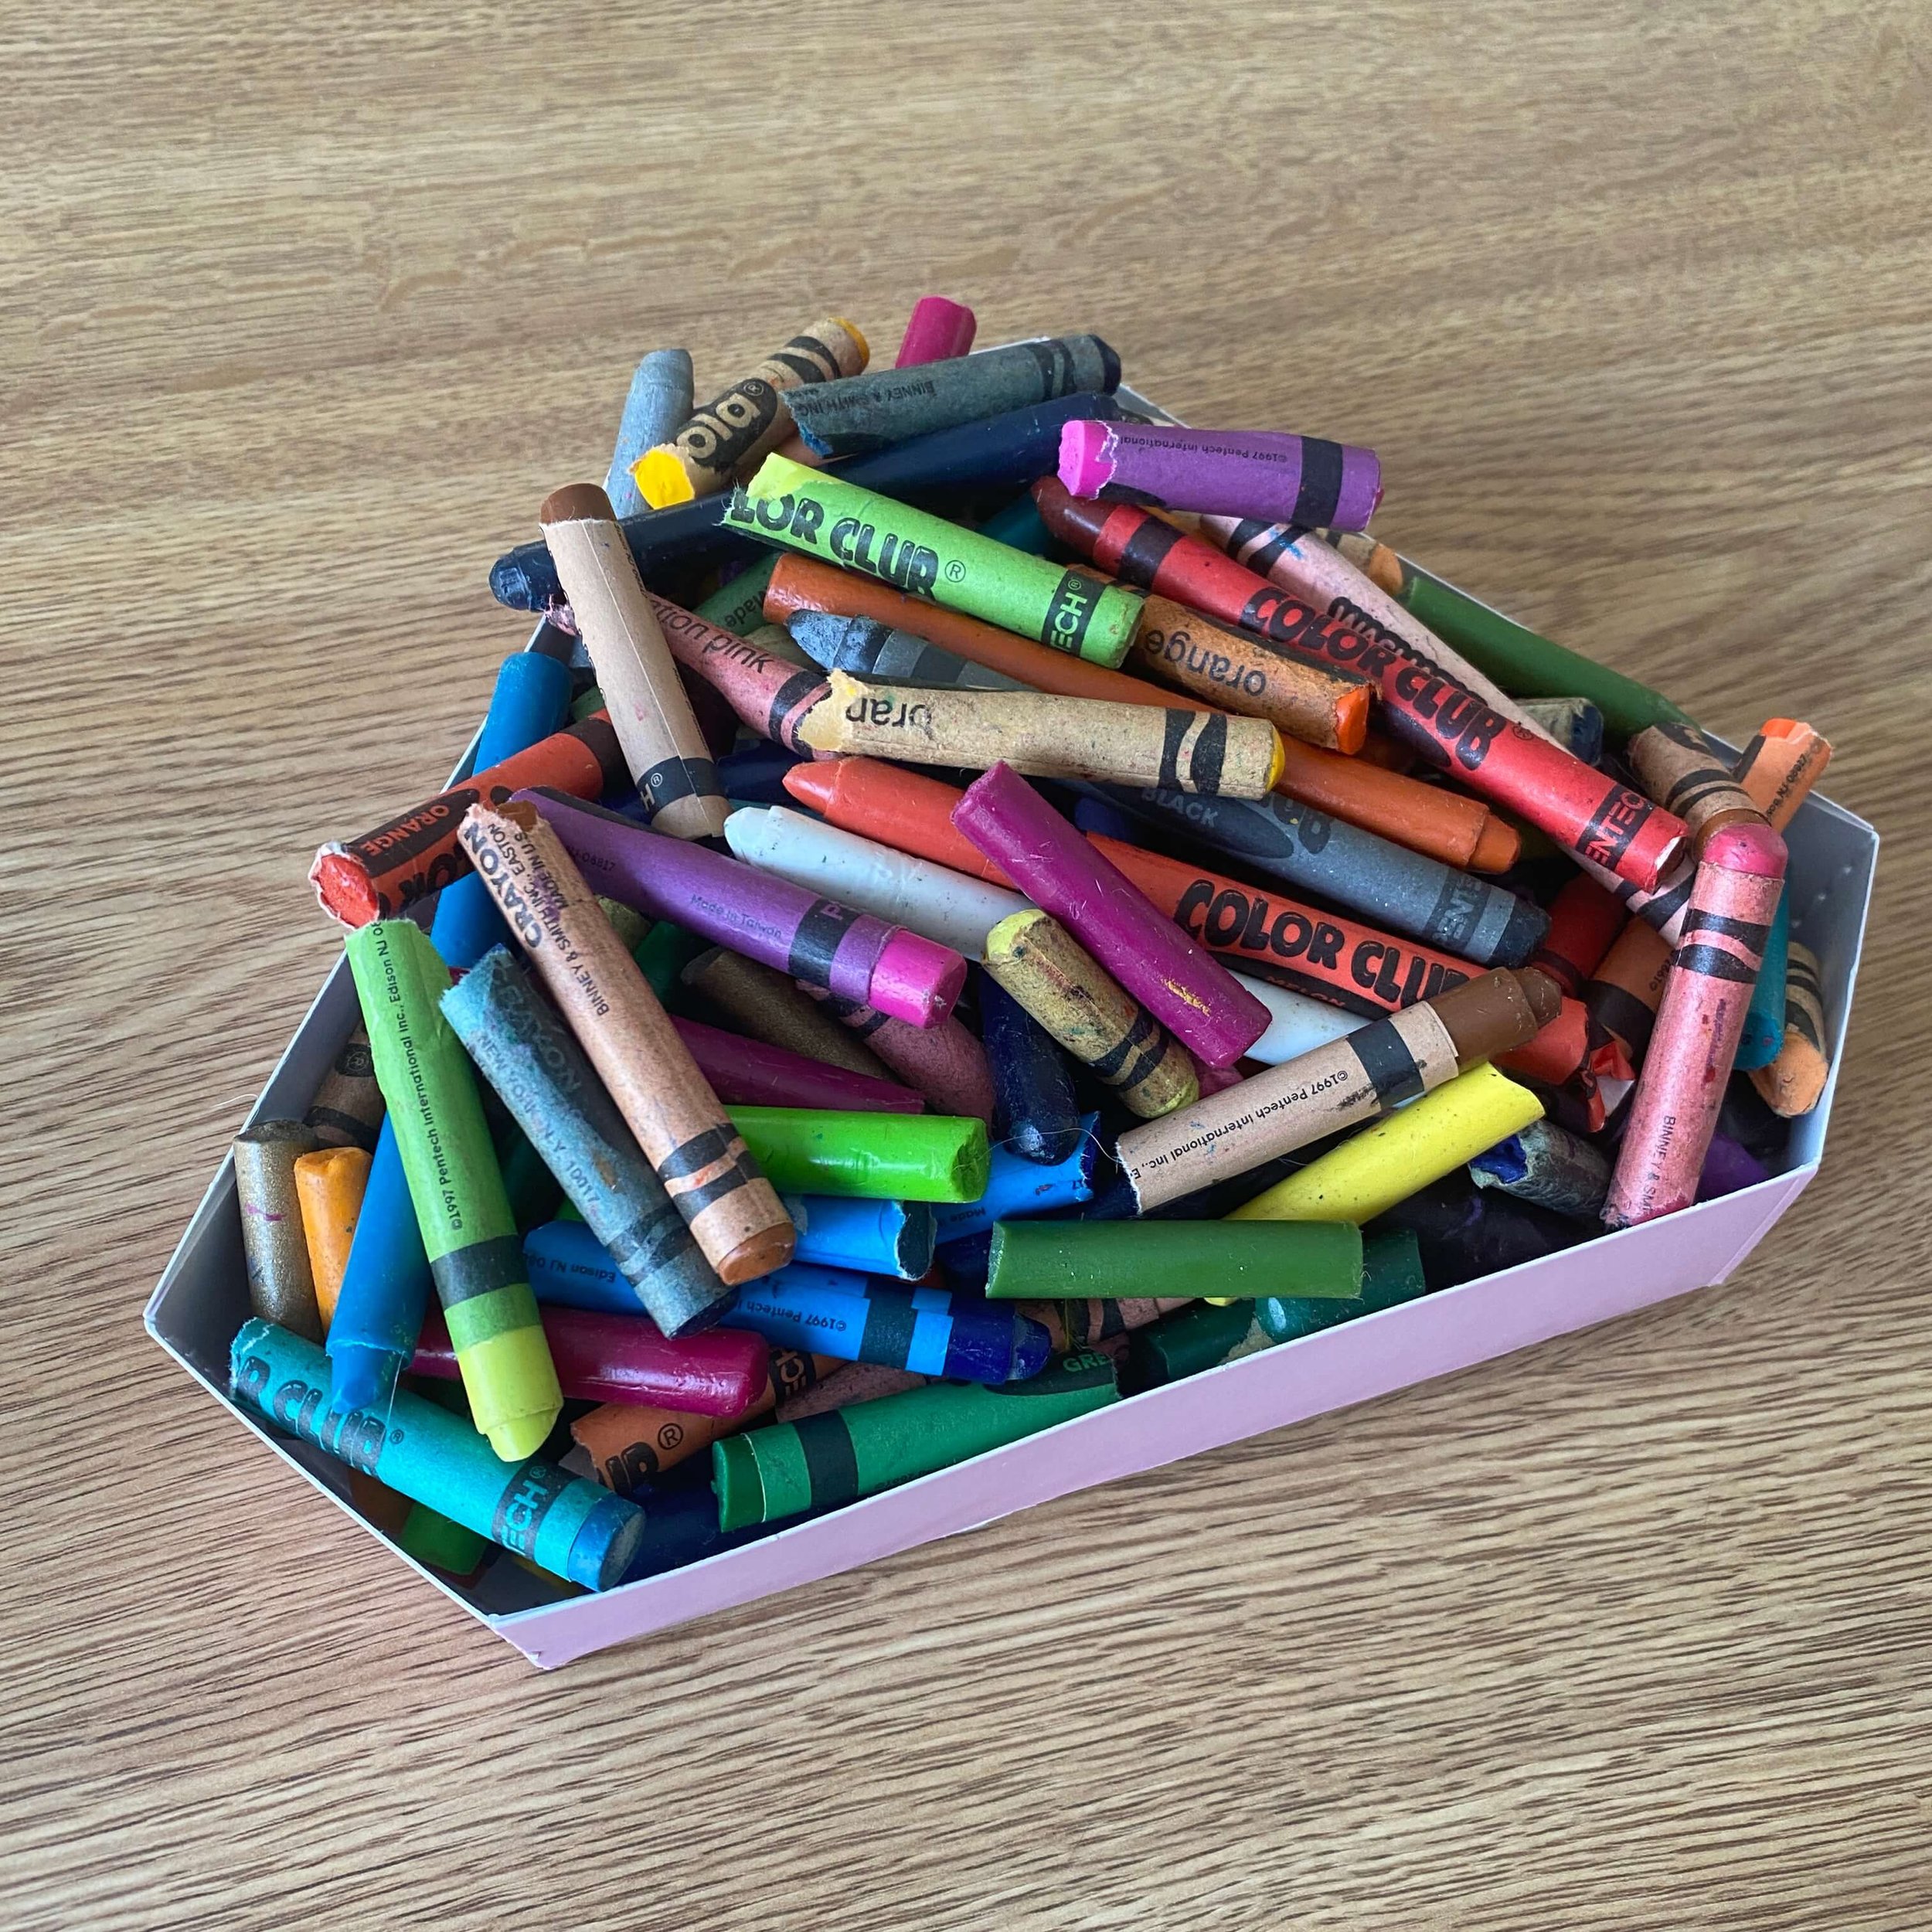
1.Gather your crayons. The perfect crayons for this recipe include broken pieces, well used bits, and unwanted crayons. Keep your drawing crayons separate so you don’t accidentally use any you want to keep.
2. Remove all of the paper wrappers from your crayons. You do not want anything but the crayon to melt down, so do your best to remove all the wrapping around the crayons.
3. Once you have all your crayons wrapper free, snap any large pieces in half so they will easily fit into your mold.
4. Preheat your oven to 250℉. Clear space on an out of reach table or surface to later place your crayon mold while it cools down.
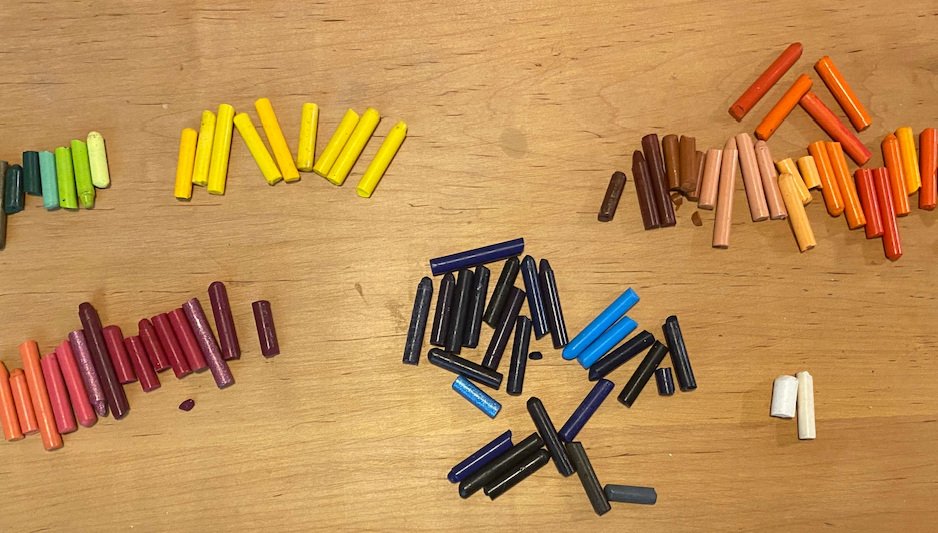
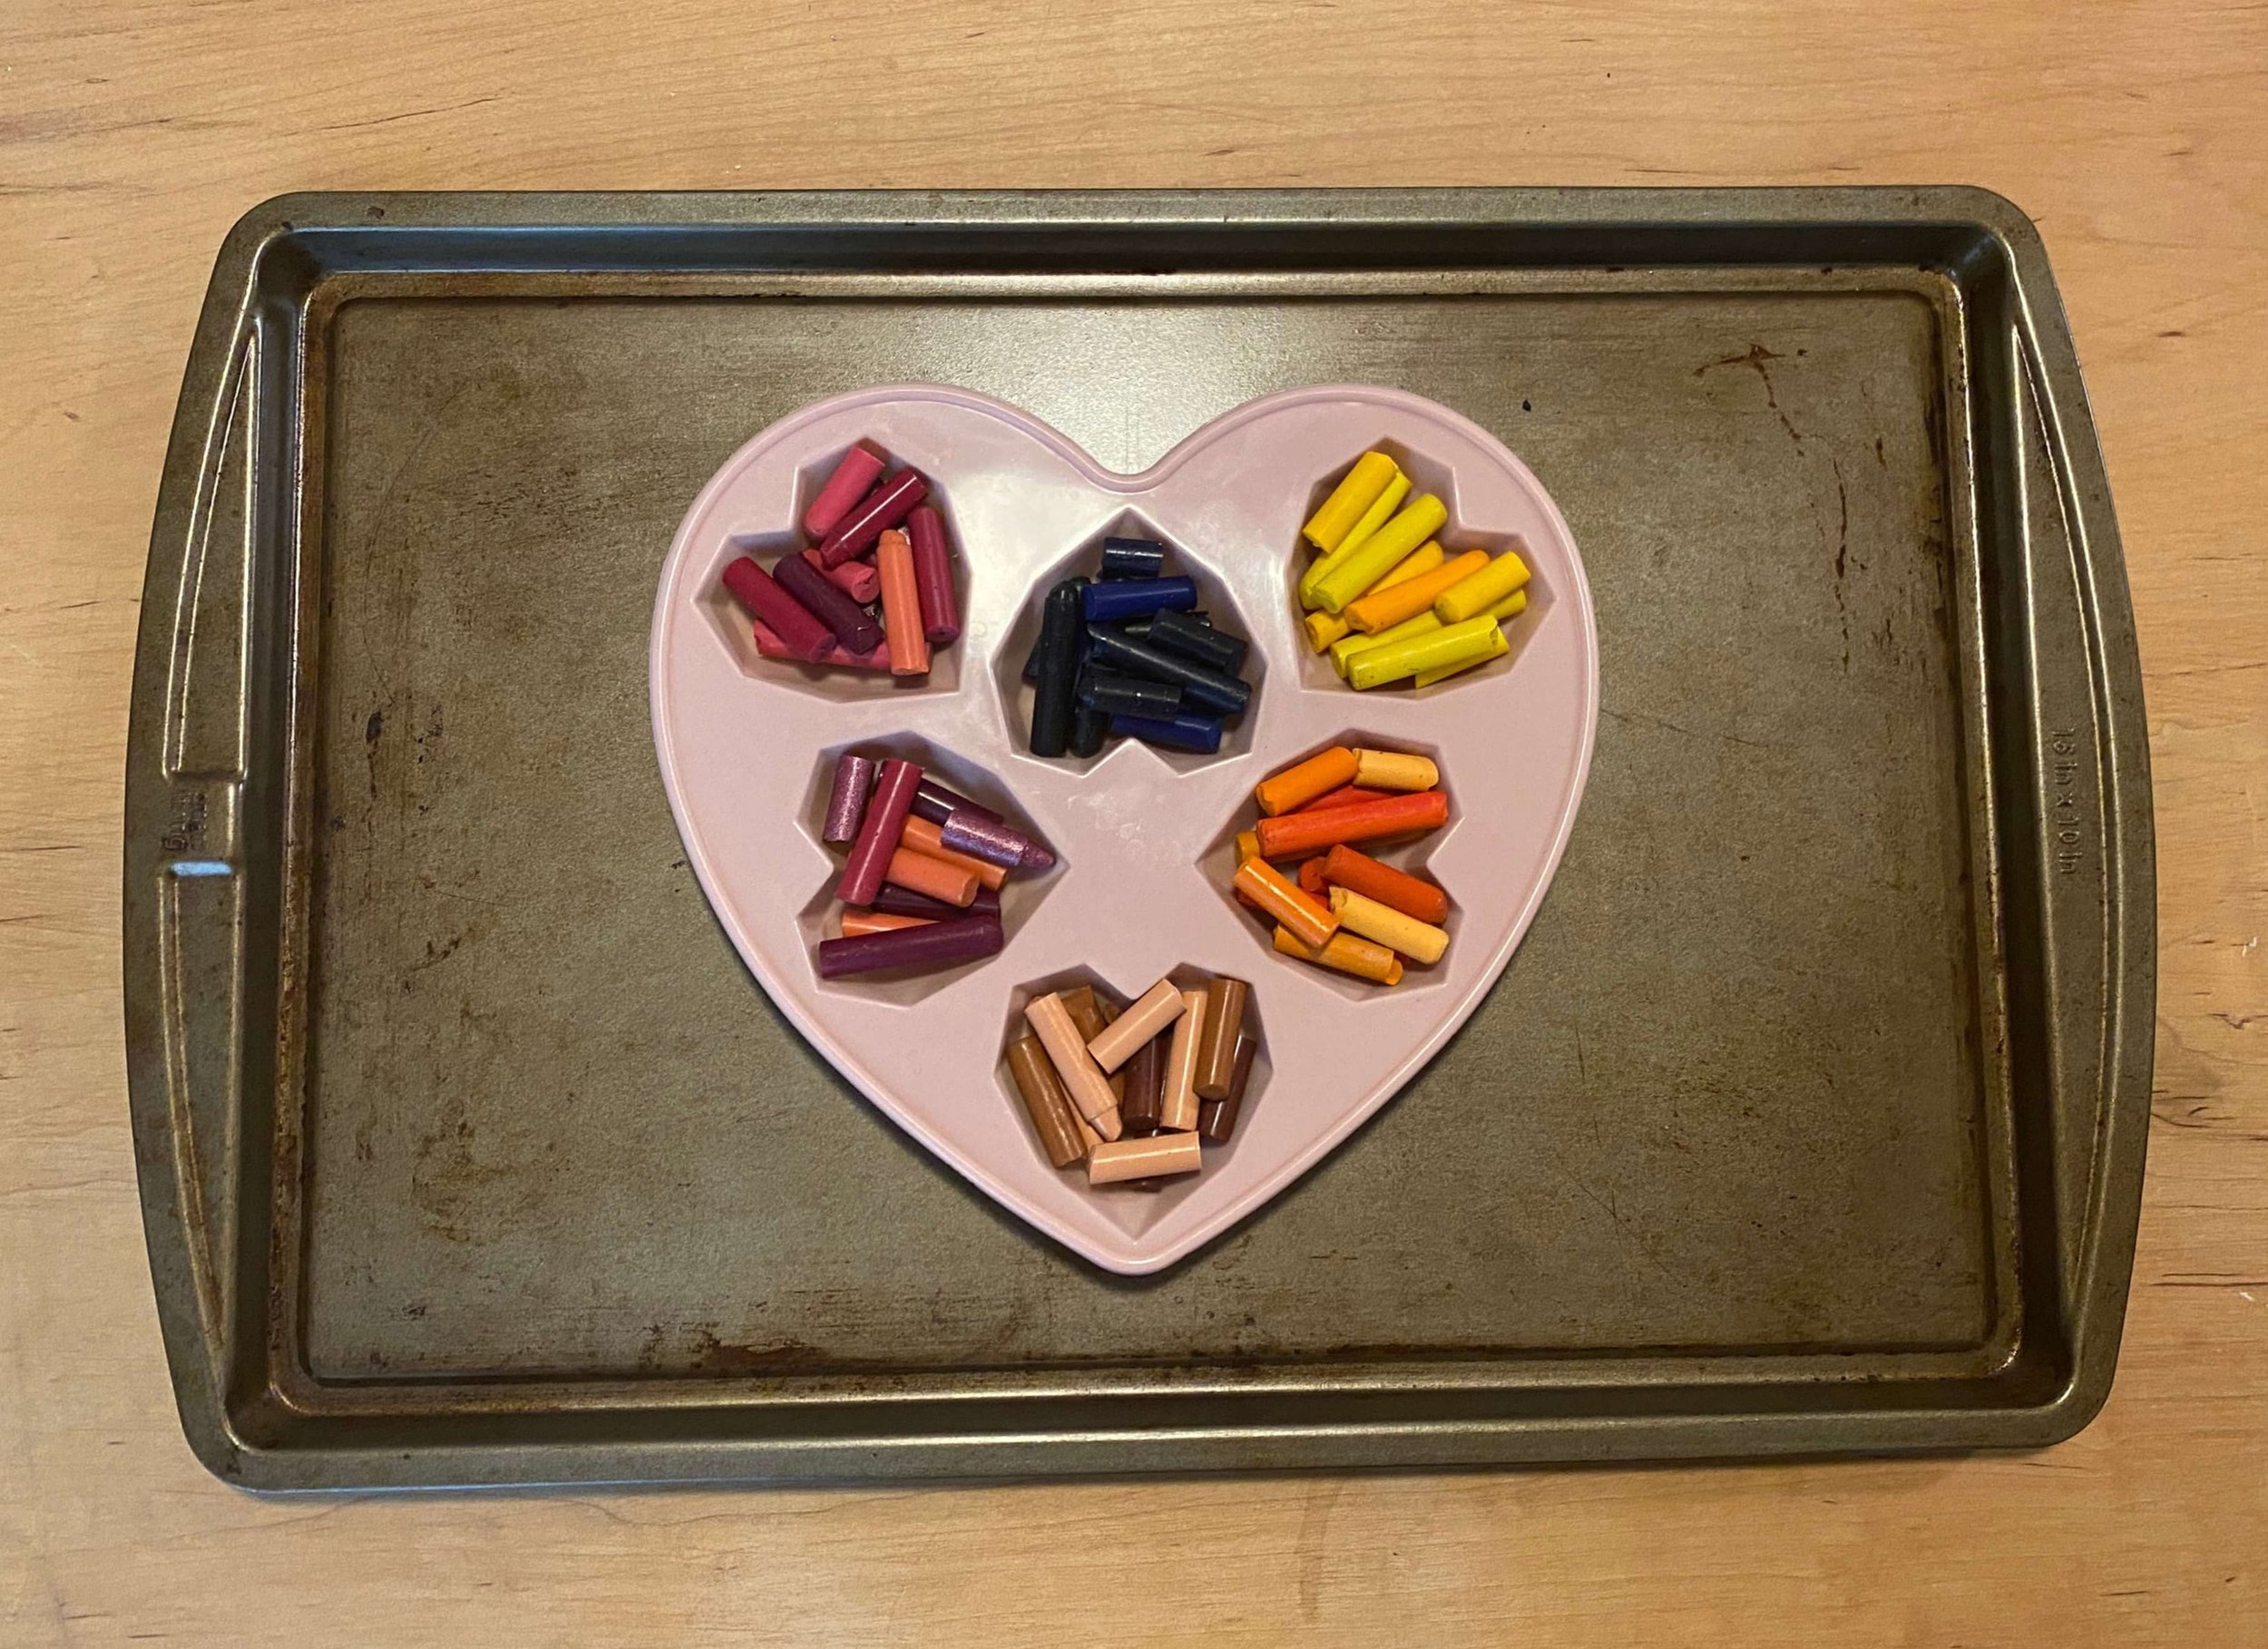
5. Place your silicone crayon mold on a baking sheet and fill the mold with the crayon pieces. Have fun mixing and matching crayon colors. I used similar colored crayon pieces in my molds, but you can pick whatever colors you like. If you pick exactly the same color to put in the mold, your crayons will not have the marbled look to them.
6. Once you have filled your mold, check that the mold isn’t over filled. You don’t want the crayons to melt out of the mold. Once you are satisfied, place the mold on the baking sheet into the preheated oven for 18-25 minutes. The length of time needed to fully melt will be somewhat dependent on how large your mold is, the more crayon pieces put in the mold, the longer it will take to fully melt down.
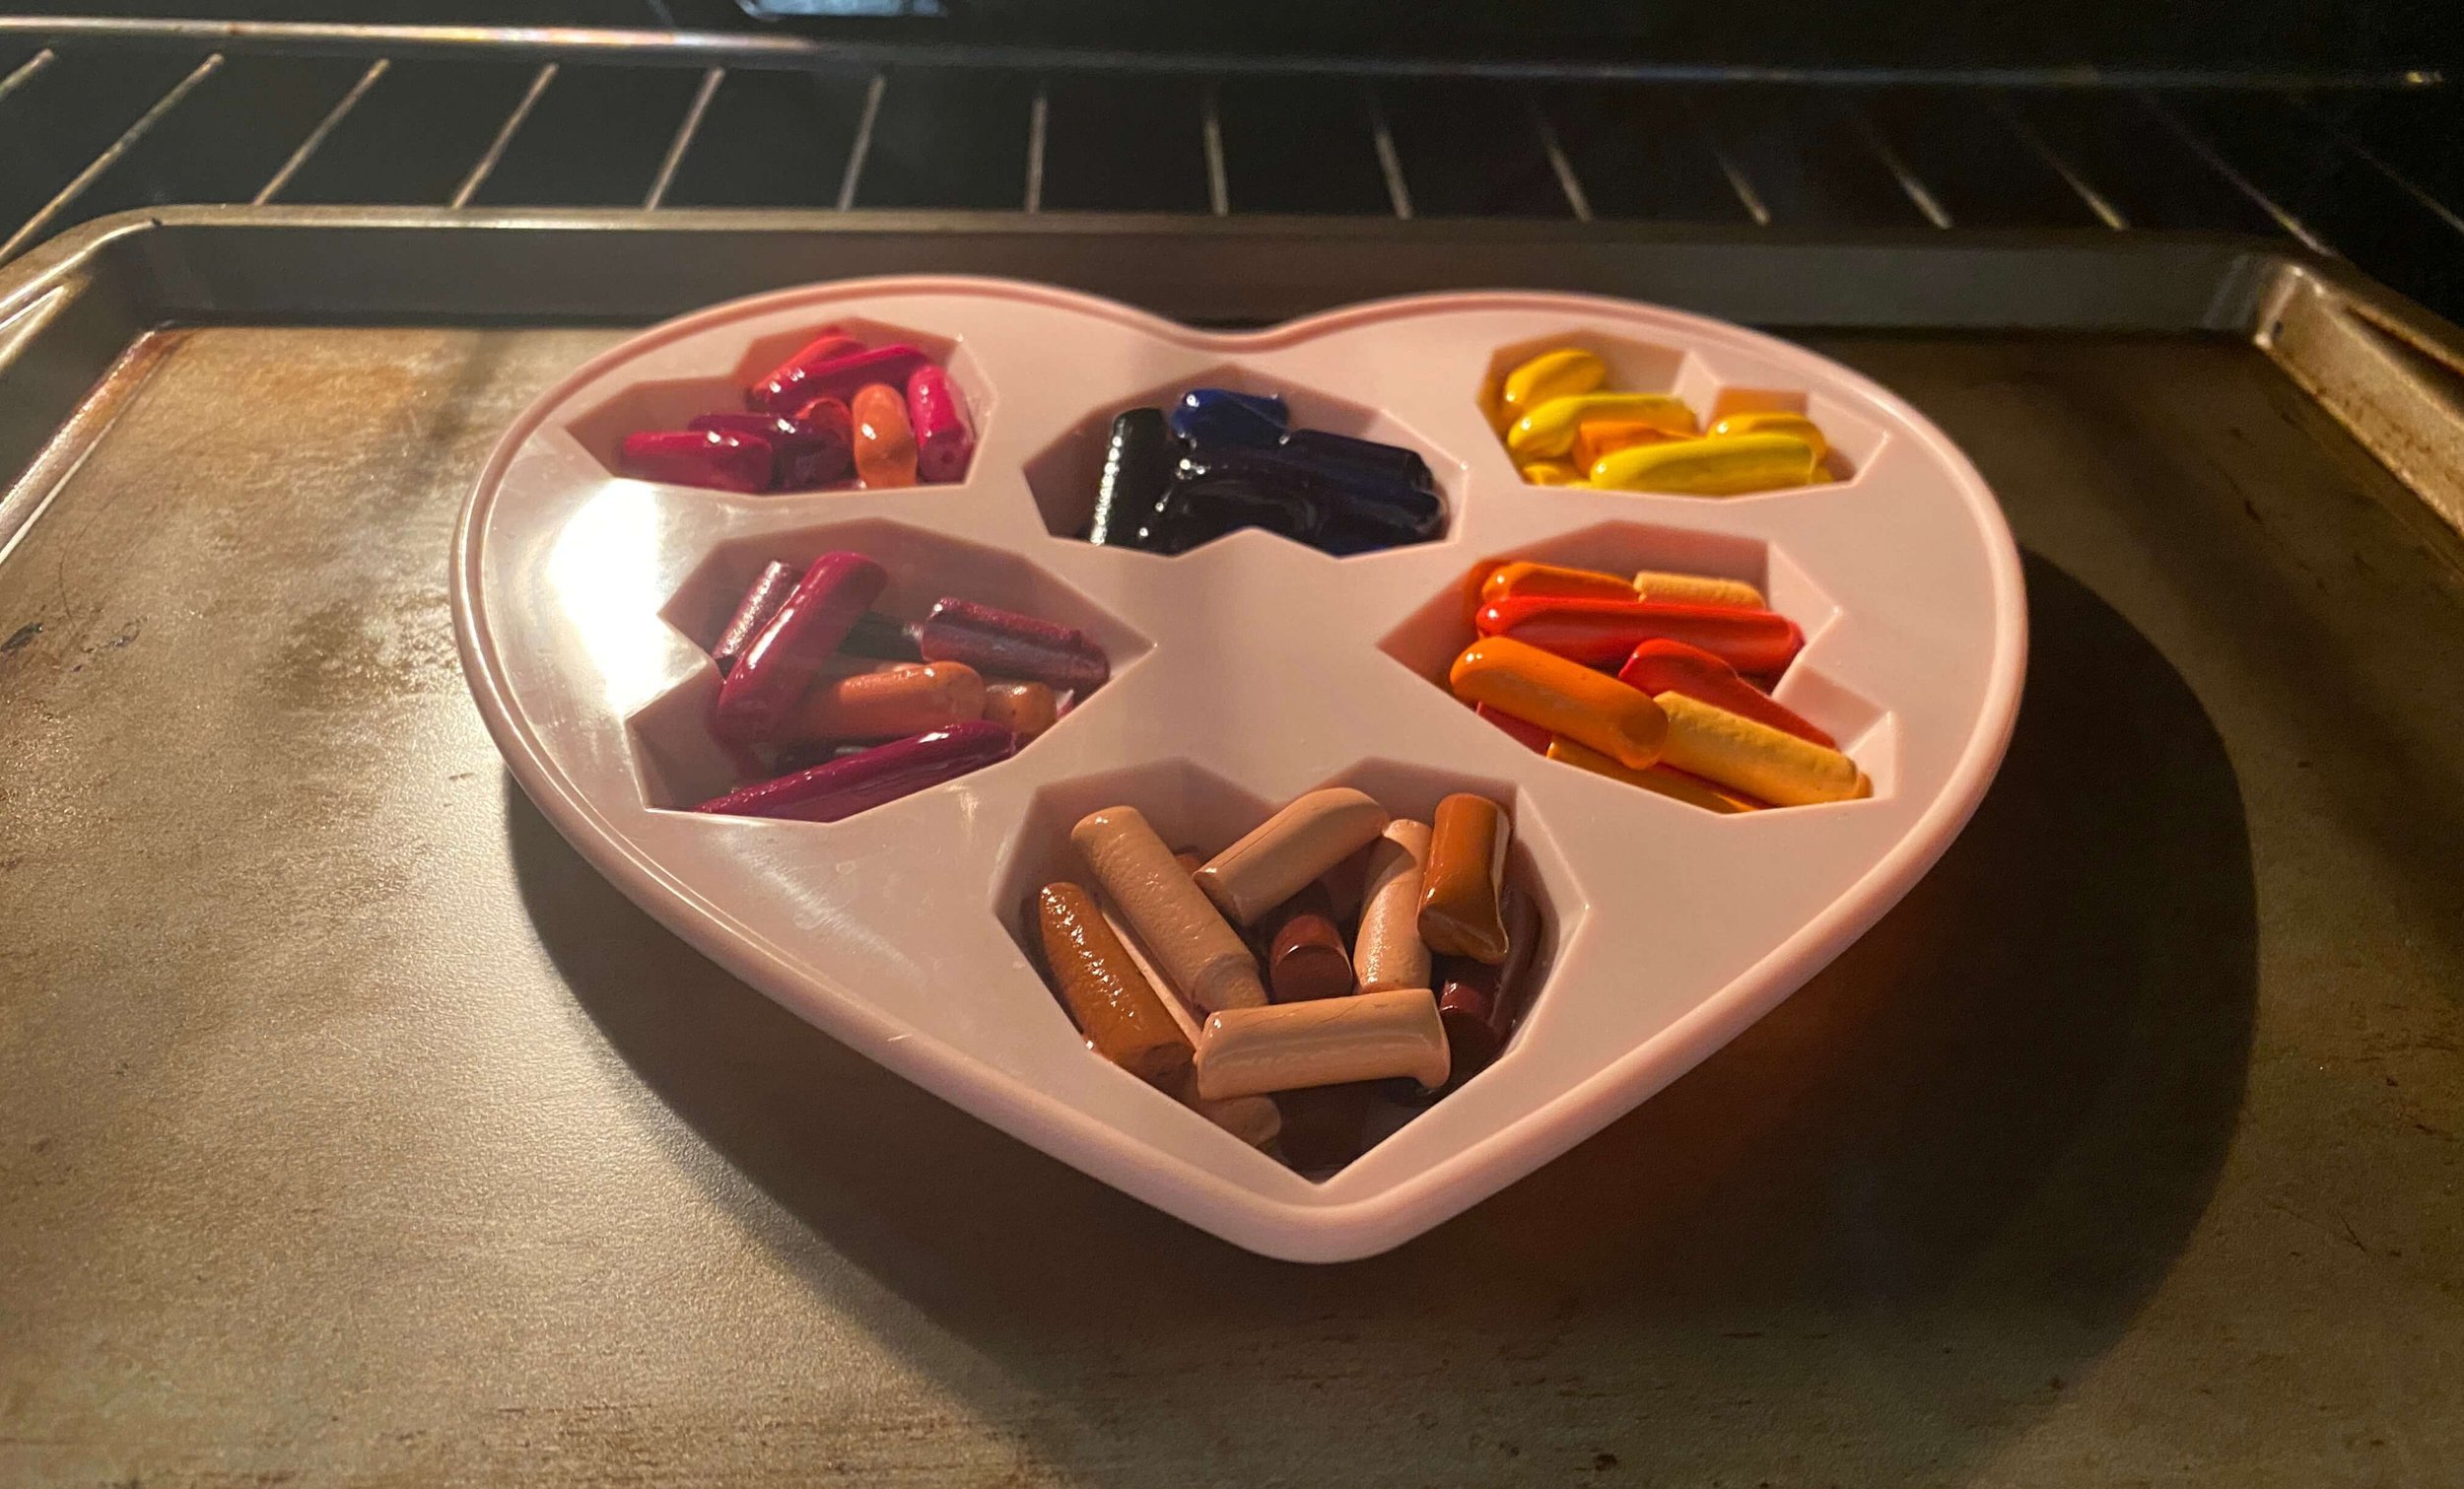
7. If you’re making these with children, it can be fun to either put the oven light on or open the oven a few times while the crayons are melting down to watch the process.

8. Once the crayons have fully melted down and have turned to liquid, very carefully remove the baking sheet with the mold on it from the oven. Because the liquid is hot, be careful not to spill while removing from the oven.
9. Put the baking sheet with the mold on it on the cleared out space. Leave for about 30 minutes or until the crayons reach room temperature and have fully hardened.

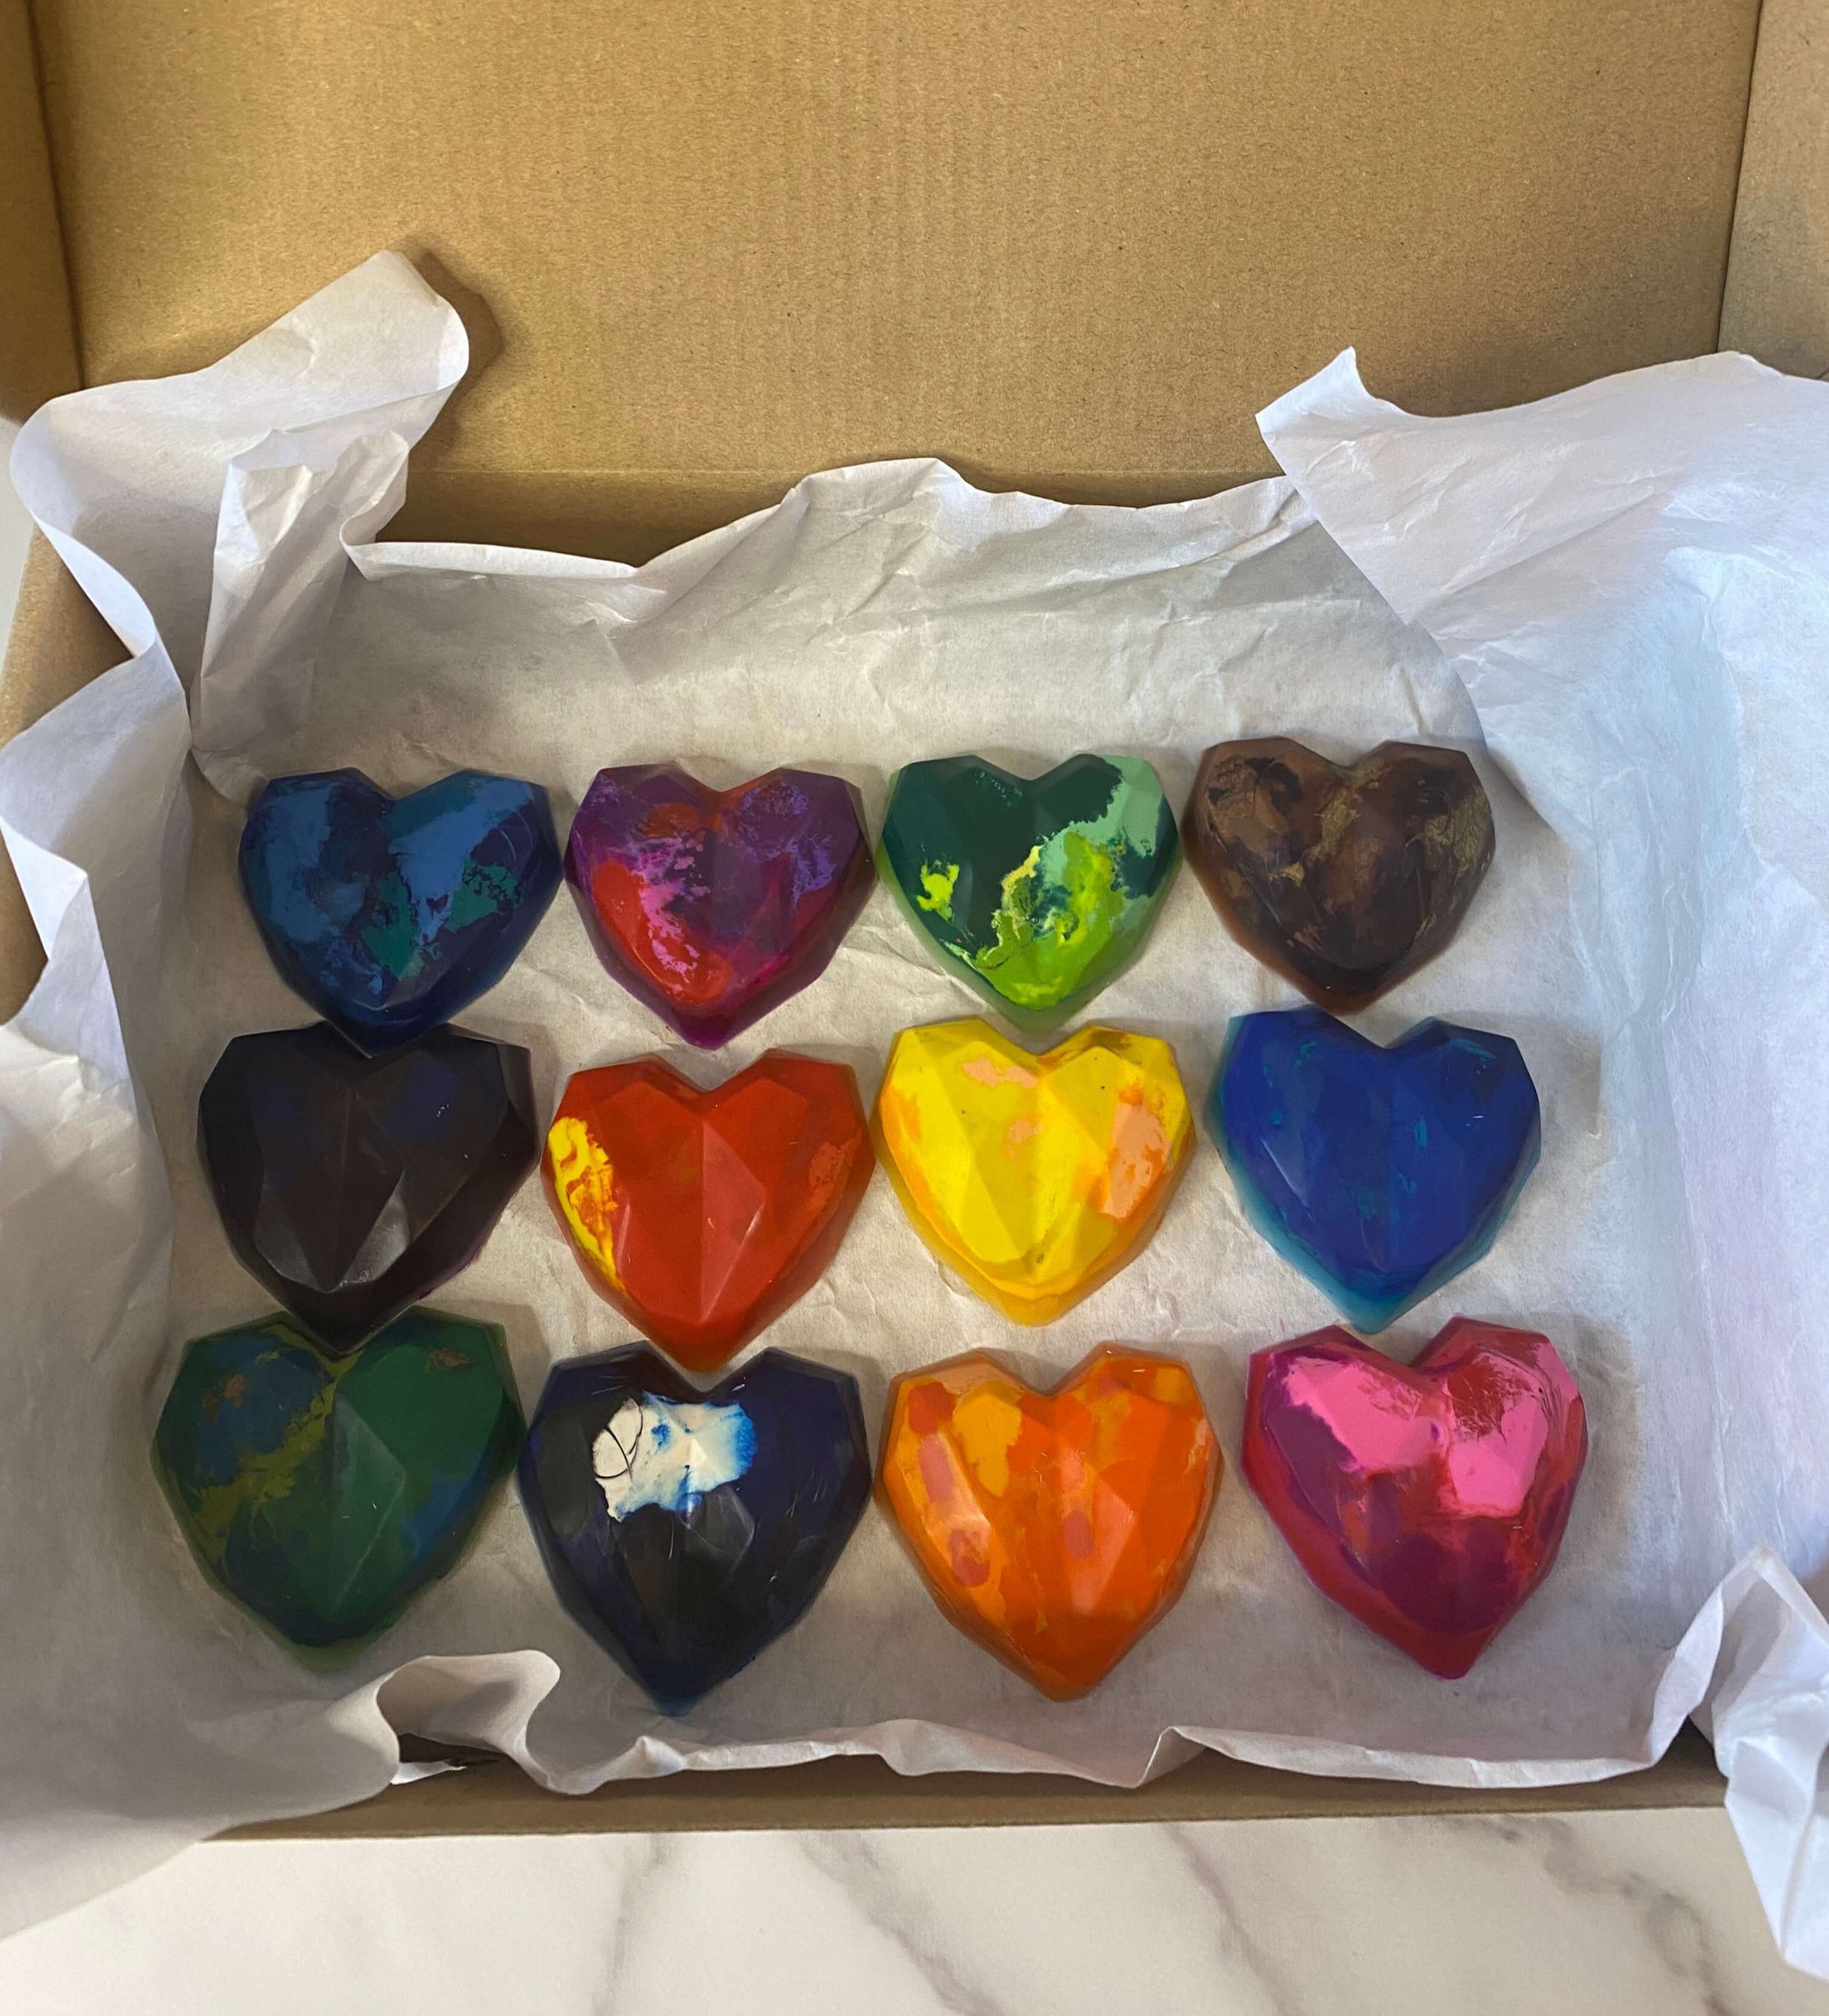
10. Once crayons are fully hardened, remove from the silicone mold. You should now have brand new repurposed crayons to use and do with as you please!
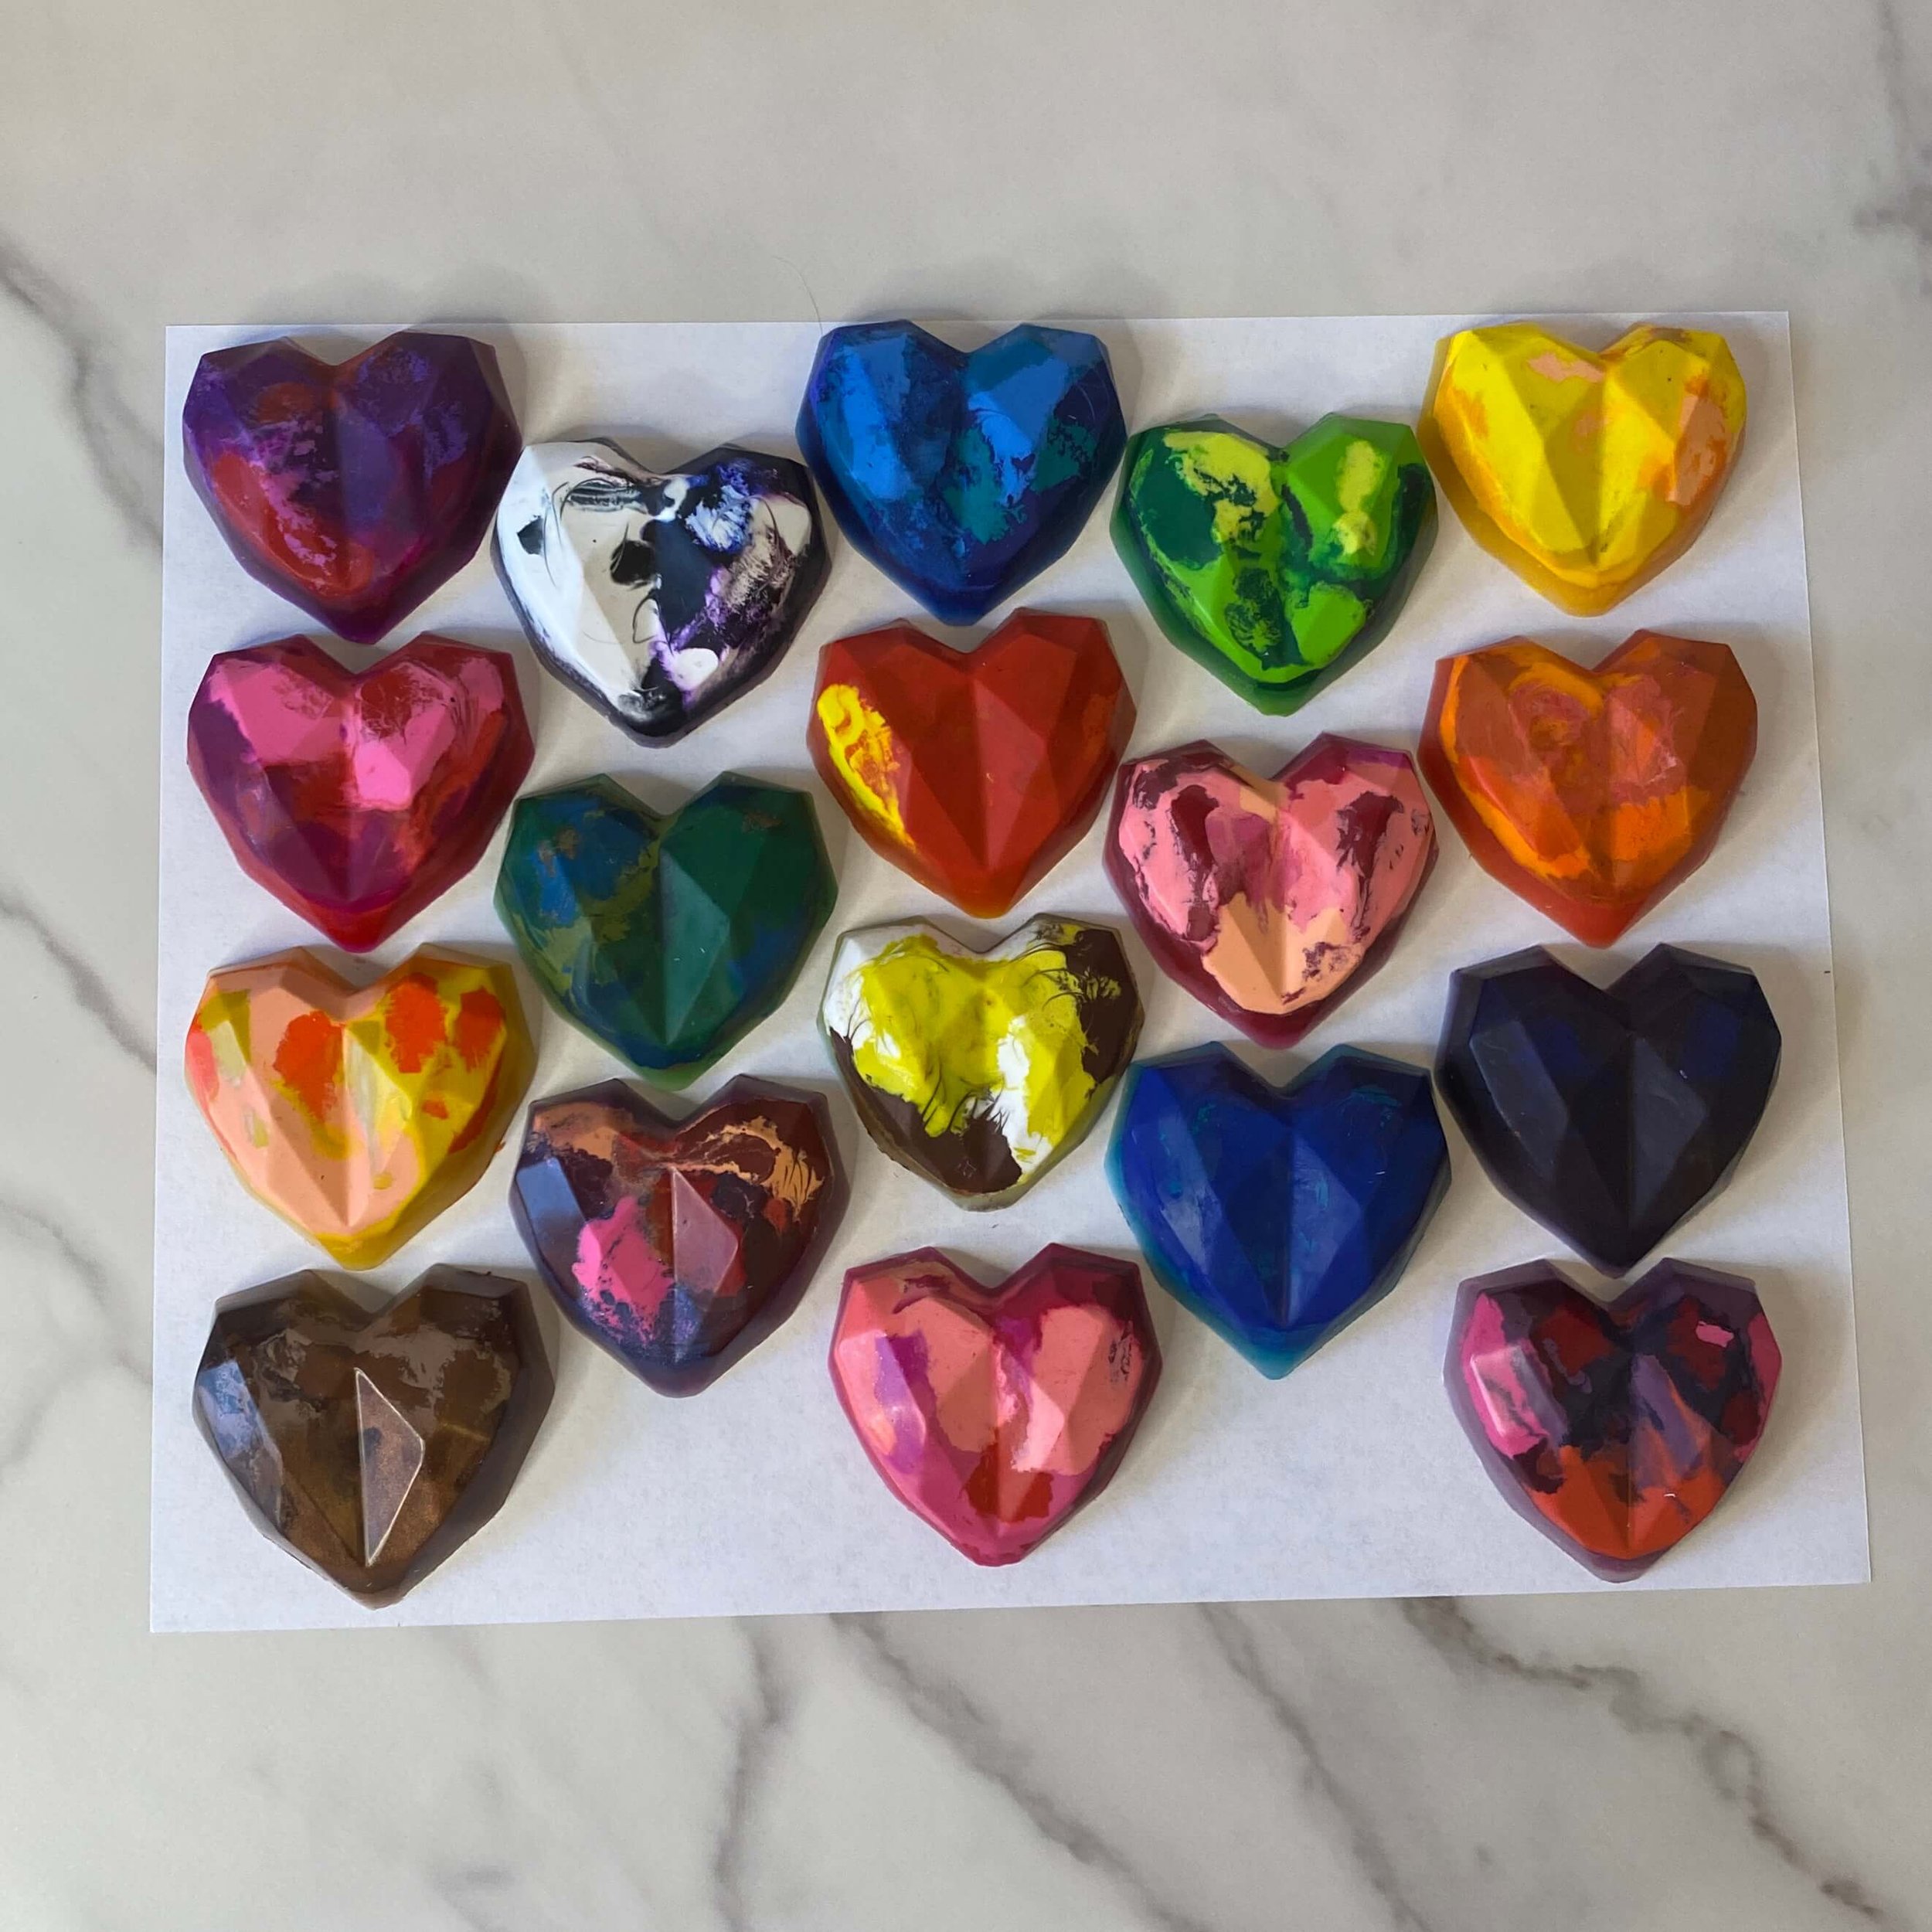
We love it when unwanted and broken things are able to be repurposed and upcycled! By making these crayons you’re removing crayon pieces that would have simply been thrown away and instead turned them into something new!
Why go out and buy a new box of crayons, when you might just have everything you already need right at home? Sustainability comes in many different forms, and this is definitely one of those forms.
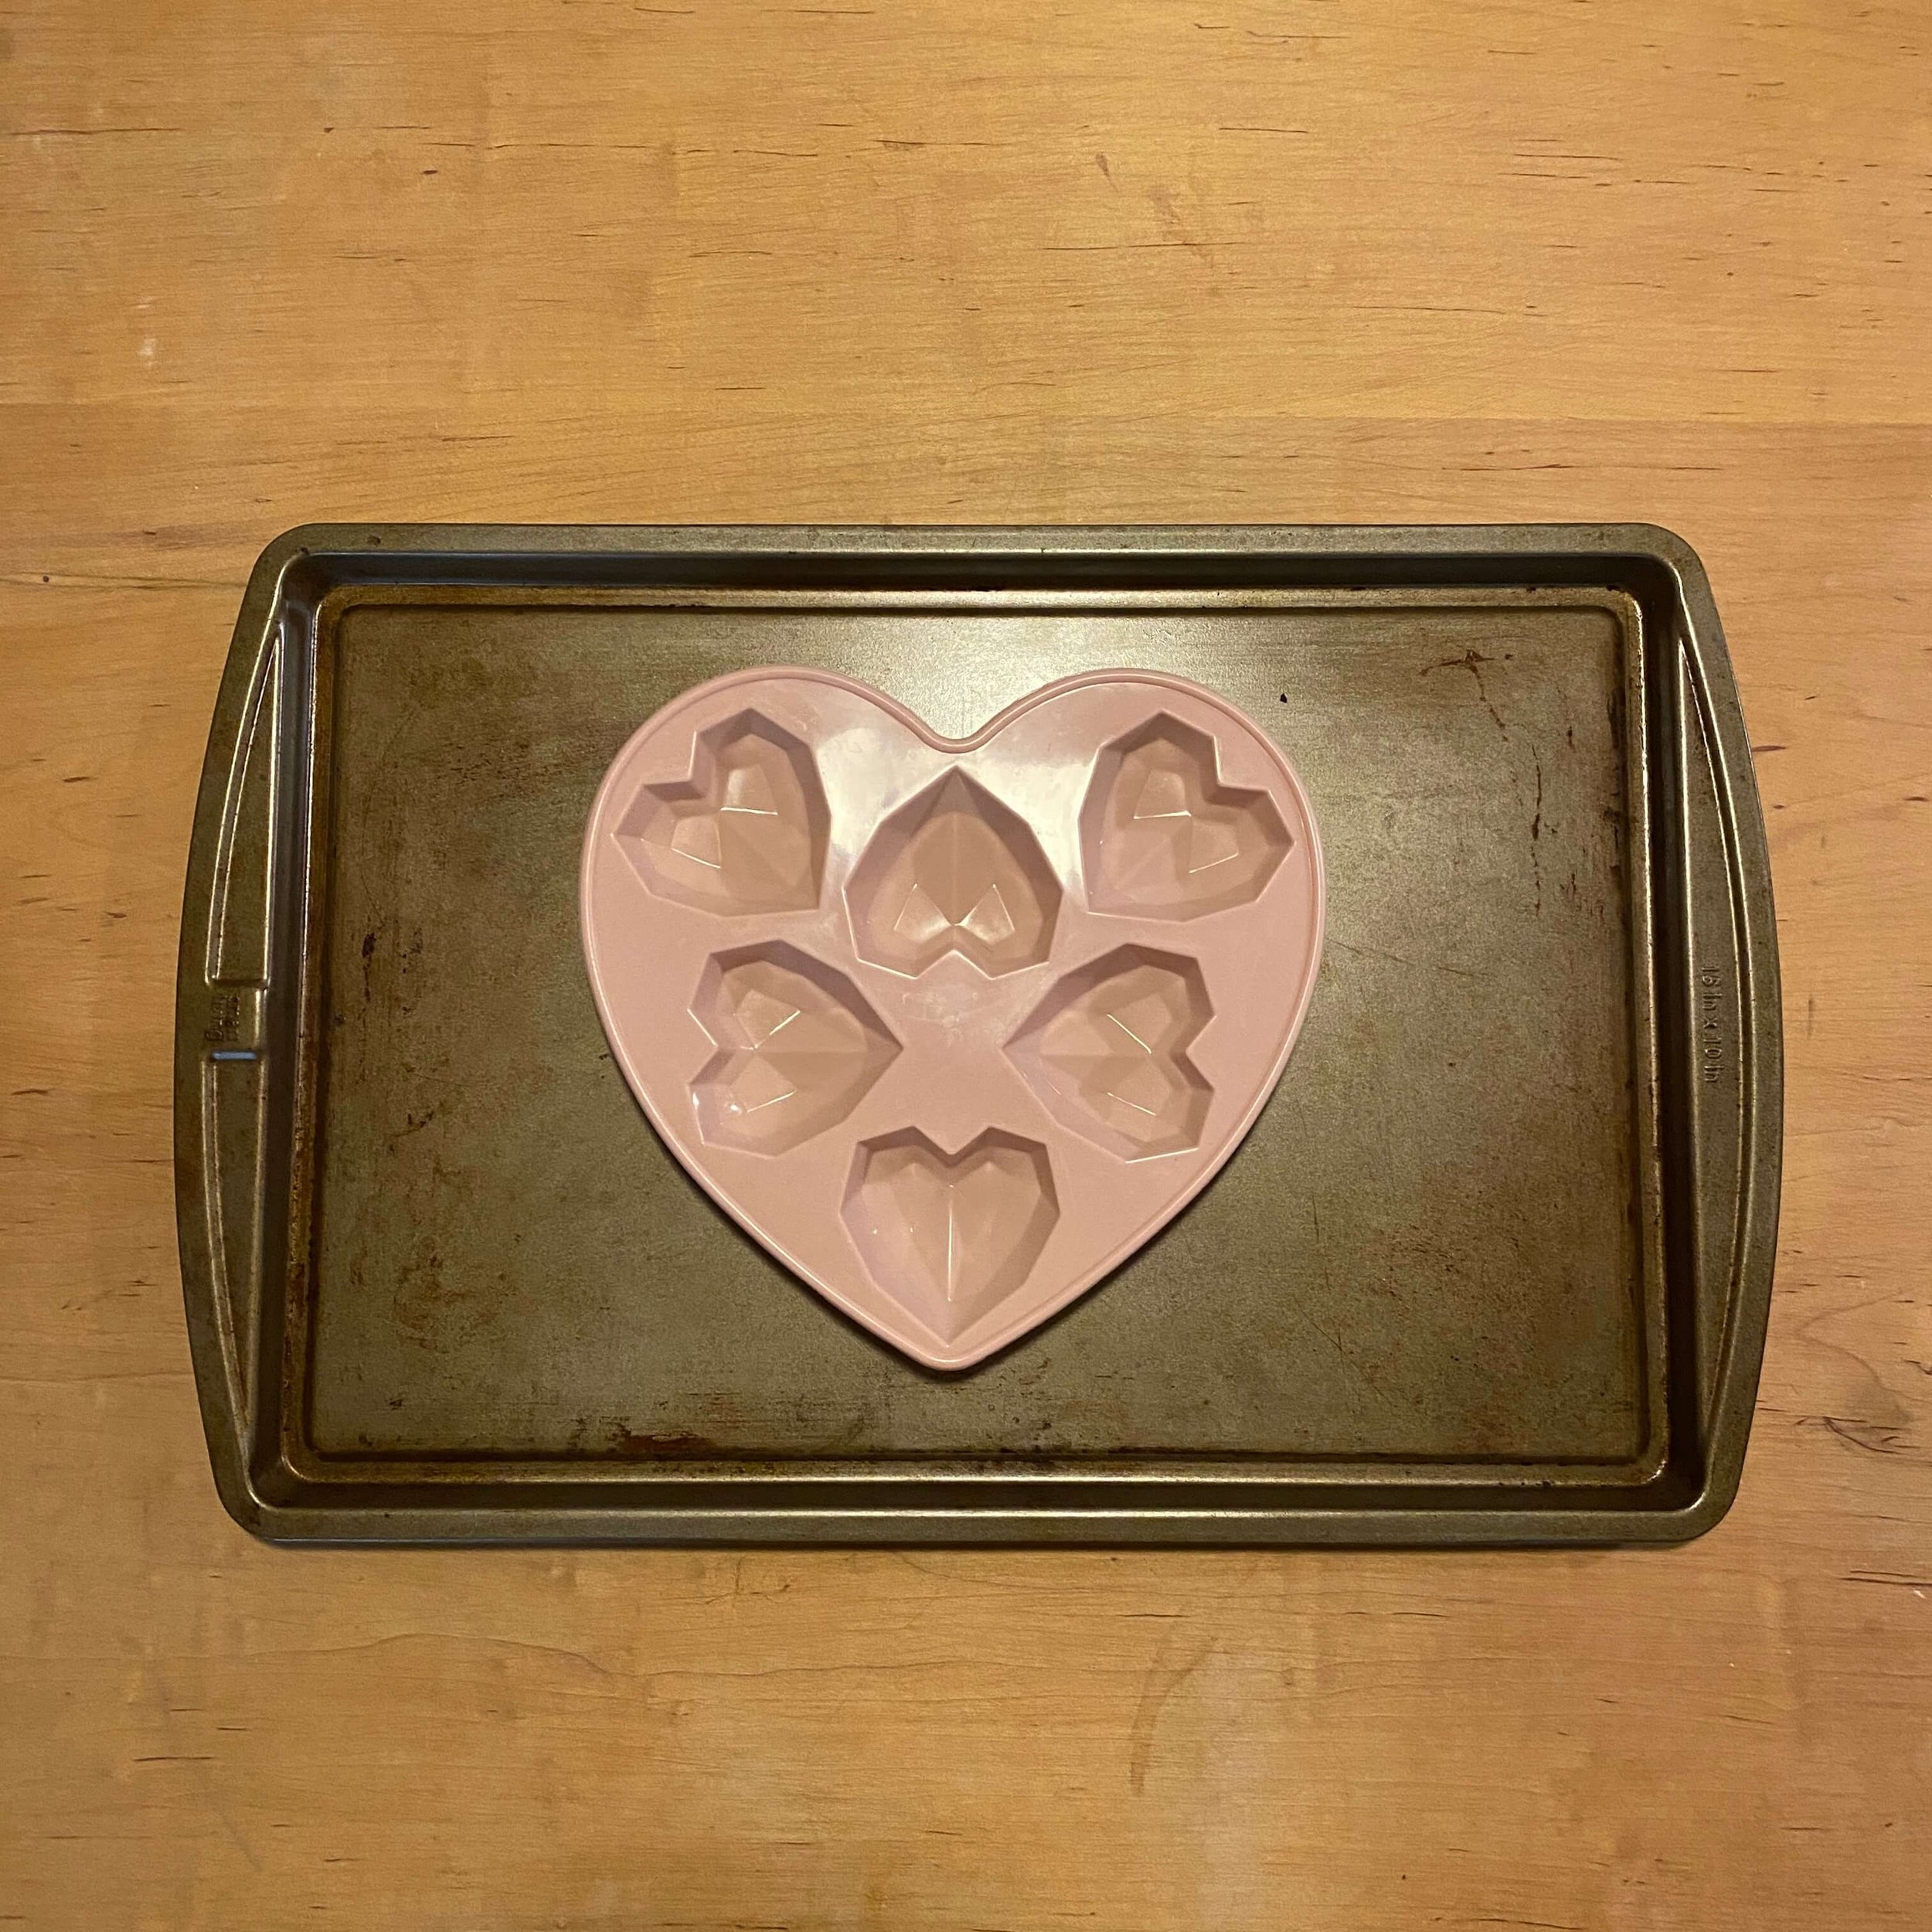
What Silicone Mold Should I Use
Pretty much any silicone mold will work! We recommend using a cooking safe silicone mold/food grade as this type of mold is tested to be safe to use in the oven.
There are a TON of silicone molds out there to choose from. We used a heart mold, as you can tell from the pictures. This could make for a great Elementary School Valentine’s Day Gift, instead of traditional candy, or a great end of year gift for classmates.
We have also seen Lego molds, which could be very fun to use for crayon making. But again there are a ton from alphabets to dinosaurs to cars and flowers.
My Crayons Cracked - Help!
I have made these crayons a few times and found that cracked crayons tend to be caused by two things.
If your crayons looked perfect, but when you went to pull the mold off they cracked, this likely happened because the crayons hadn’t reached room temperature yet. Be sure to let the crayons reach room temperature before you try to remove them from the molds or the crayons will likely crack and break.
If this happens, don’t fret. Simply place the broken pieces back in the mold and place back into your oven to melt back down again.
The other issue I found from broken crayons occurred when I attempted to speed up the process by placing the melted crayons into the freezer to cool faster. The shock in temperature from either placing in the freezer or fridge can lead to crayon cracking.
I do not recommend placing the liquid crayons into the fridge or freezer to speed up the process. Simply let the crayons harden on their own.
What Crayons Should I Use?
While building out this recipe we tried different types of crayons to see which crayon brands were best for the task at hand. We used Crayola crayons, Color Club crayons, and a mix of unknown crayons with interesting results.
Crayola crayons were our favorite. While we found the Crayola wrappers tend to be the hardest to remove, the crayons themselves melt down really well and harden pretty much perfectly with even color distribution.
The Color Club crayons will melt down fine for you but leave a rim of light color at the top of the mold. If you are working with Color Club crayons and don’t want this color difference we found that taking a toothpick and carefully stirring the liquid once fully melted helps reduce the color rim.

The unknown crayons were a mix of crayon pieces that had no wrappers, came from restaurants, and other places. There were definitely some Crayola and Color Club pieces along with who knows what other crayon brands in the unknown mixture.
These unknown crayons actually worked much better than expected and because any color club crayon pieces were mixed with other crayons the color rim didn’t happen.
At the end of the day any crayons you have should work just fine, be they Crayola, Color Club, or other brands of crayons.

Be sure to let us know how your crayons turn out!